Section 1: Exempt Transfer 05.22.2026
How to Process an Exempt Transfer in Orchid eBound
Use the Exempt Transfer function to dispose of firearms to transferees who are exempt from FFL and 4473 requirements — such as Military, Law Enforcement, and dispositions for repair returns. You'll need the recipient's shipping information and the serial number(s) of the firearm(s) being transferred.
- Open the eBound dashboard. From the main Orchid eBound Book page, locate the Operating Transactions menu on the left side of the screen.
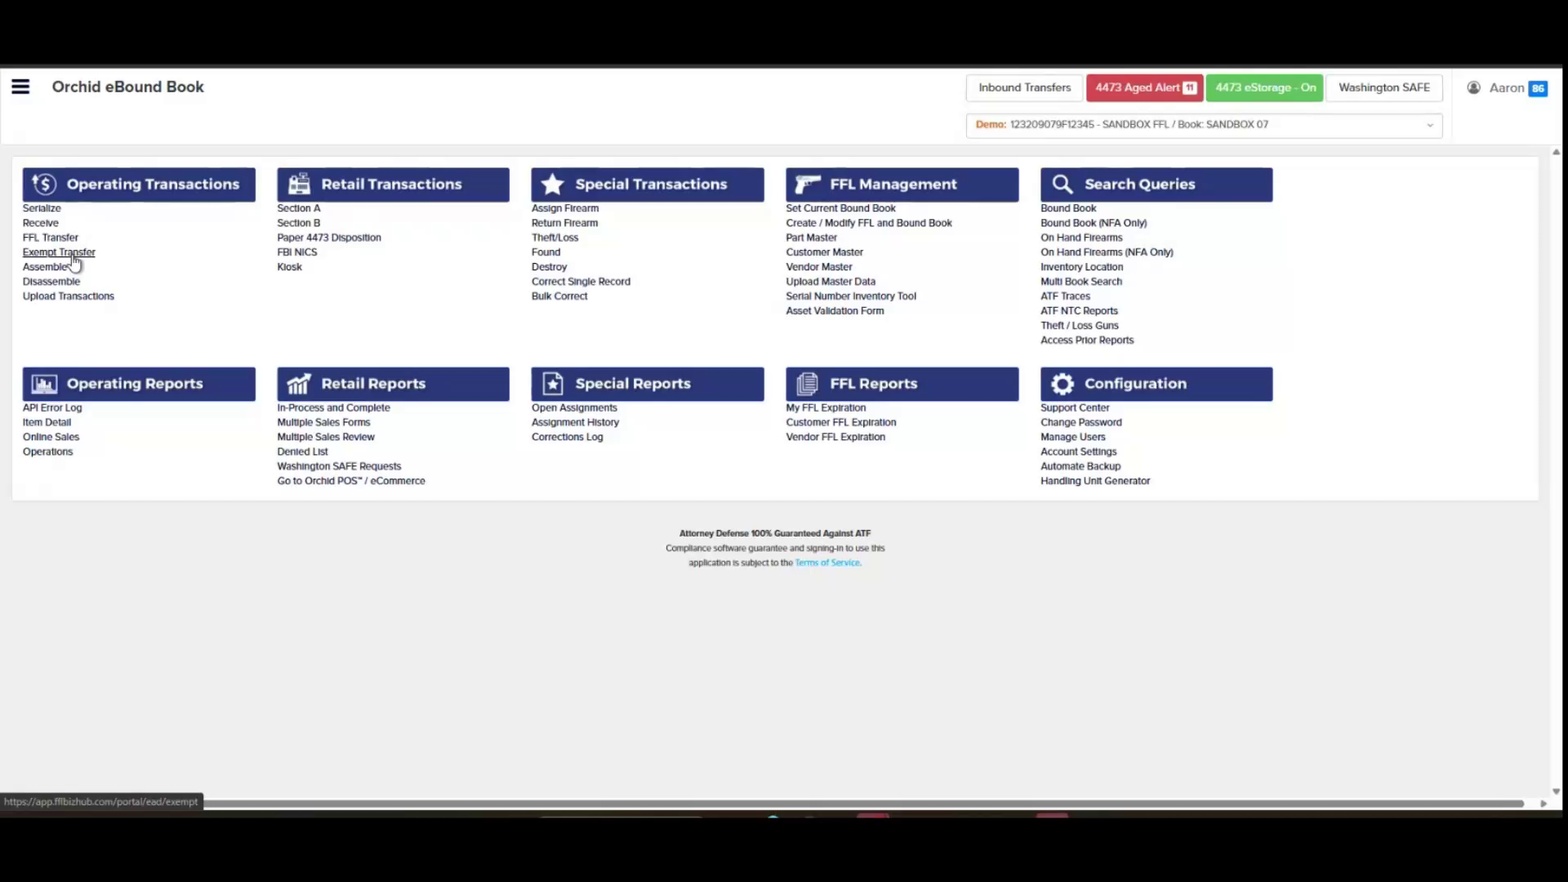
eBound dashboard with Operating Transactions menu
- Click Exempt Transfer. Under Operating Transactions, select Exempt Transfer to open the transaction form.

Selecting Exempt Transfer from the menu
- Review the Exempt Transfer header. Confirm the page title reads "Transaction: Exempt Transfer" and verify the Dispose from FFL/A&D and Today's Date fields are populated correctly.

Exempt Transfer form loaded
- Set the Physical Date. Click the calendar icon next to the Physical Date field and select the date the transfer physically occurred.
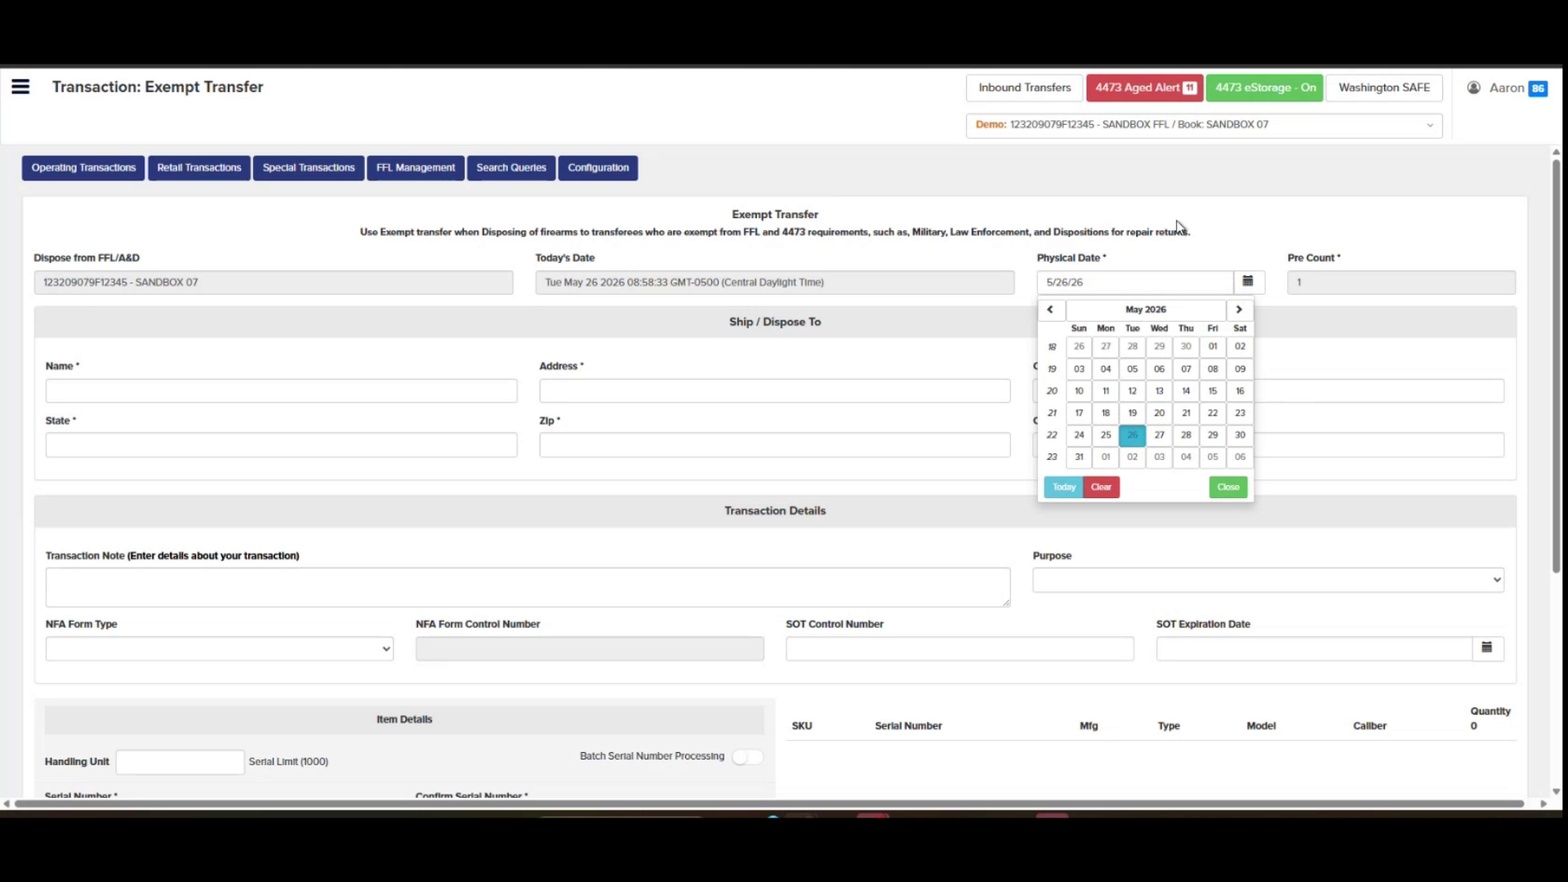
Selecting Physical Date from the calendar
- Confirm the Pre Count. Verify the Pre Count field shows the correct number of firearms being transferred (defaults to 1).
Pre Count field on the form
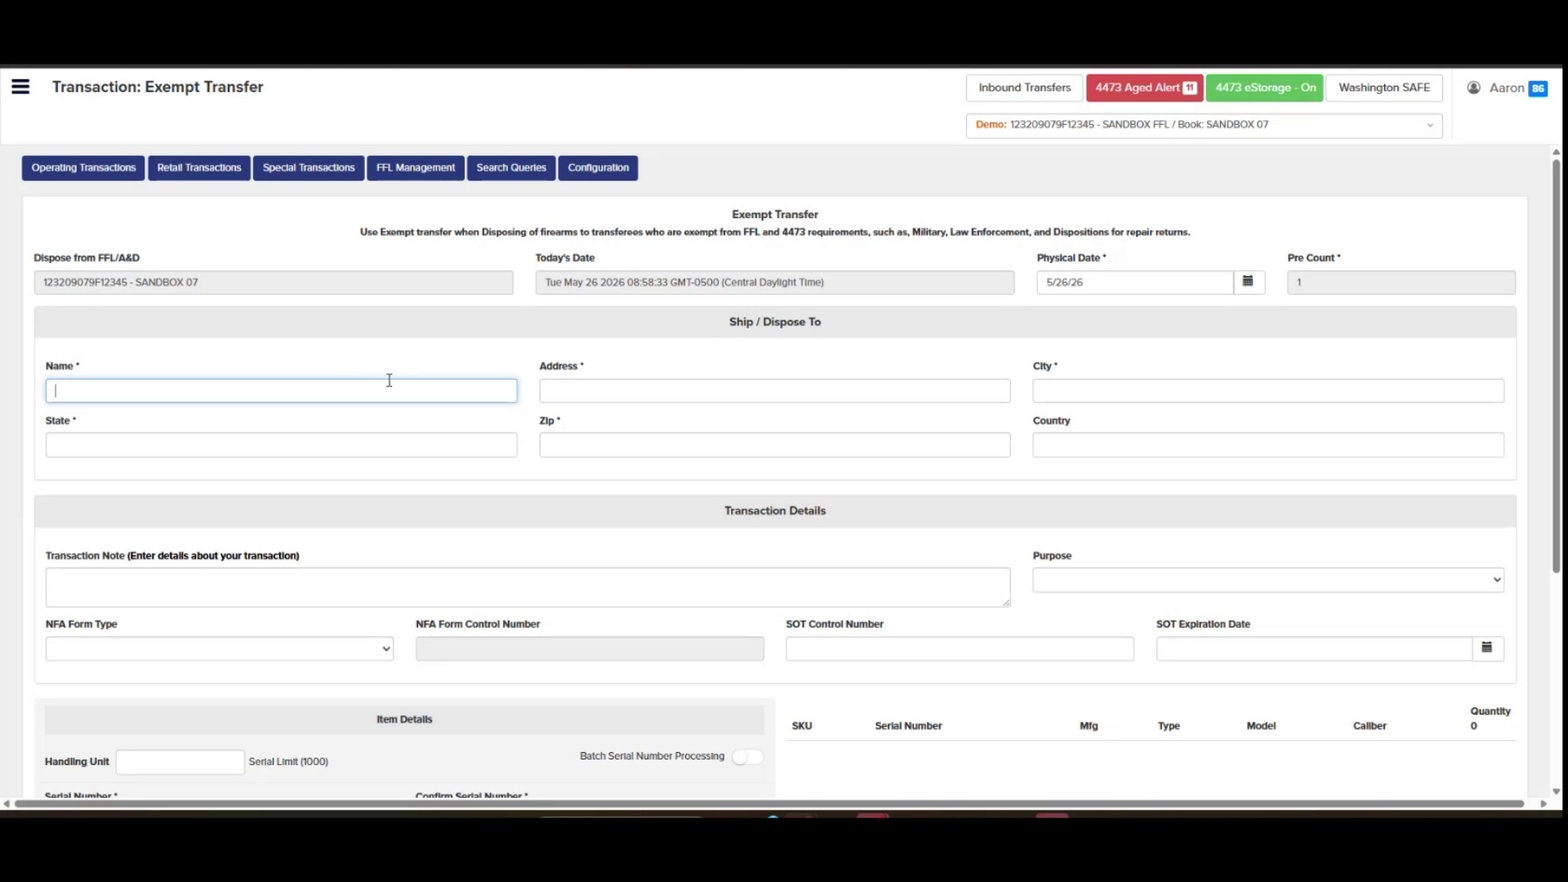
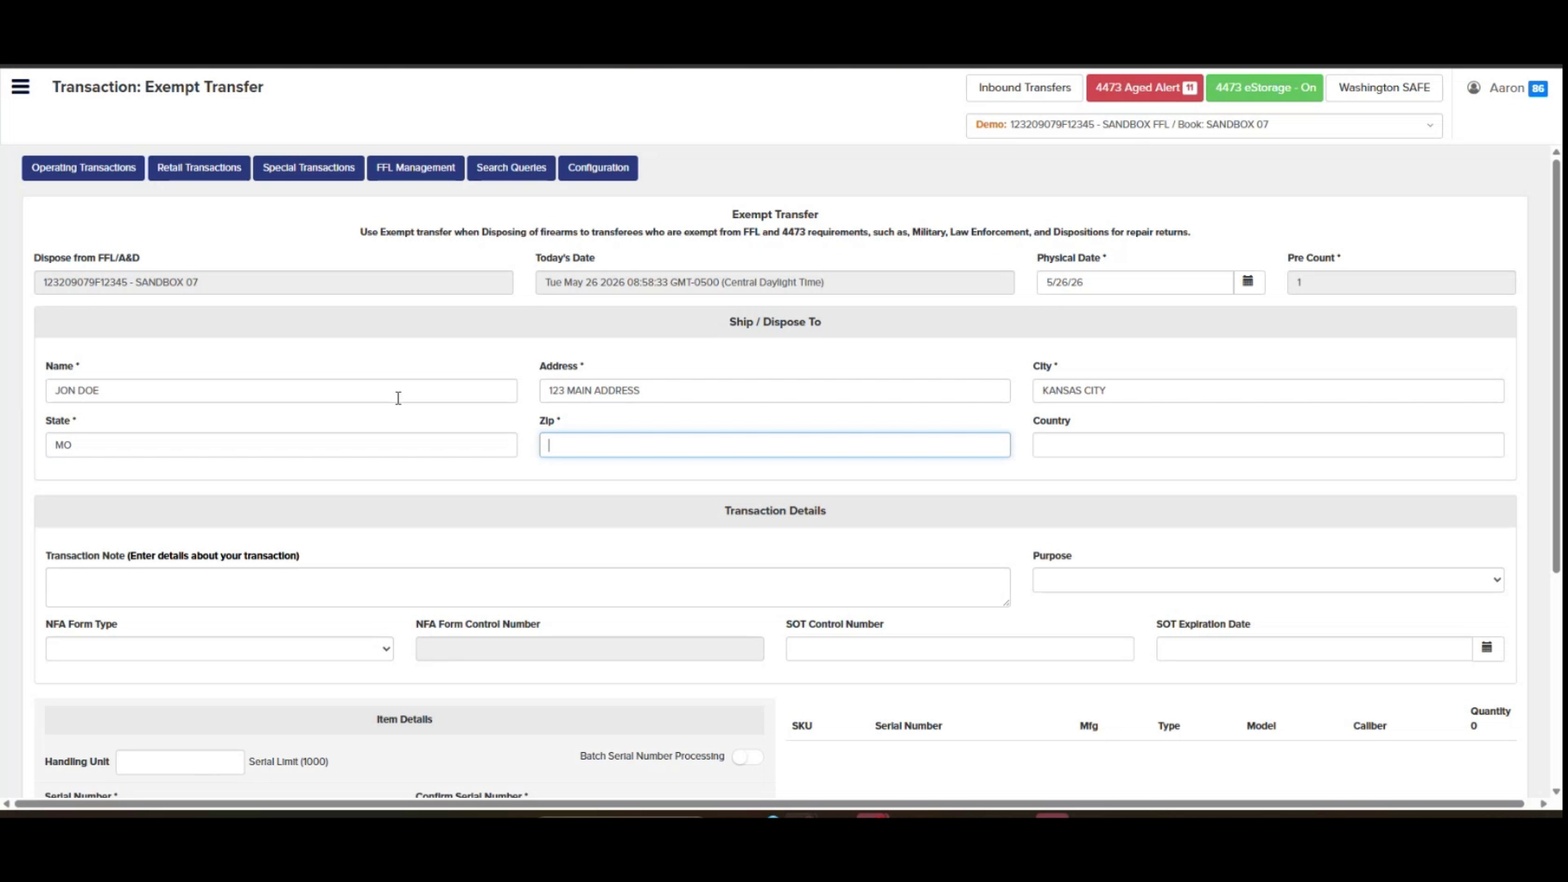
- Enter the recipient's Name. Click into the Name field under Ship / Dispose To and type the transferee's name (for example, JON DOE).
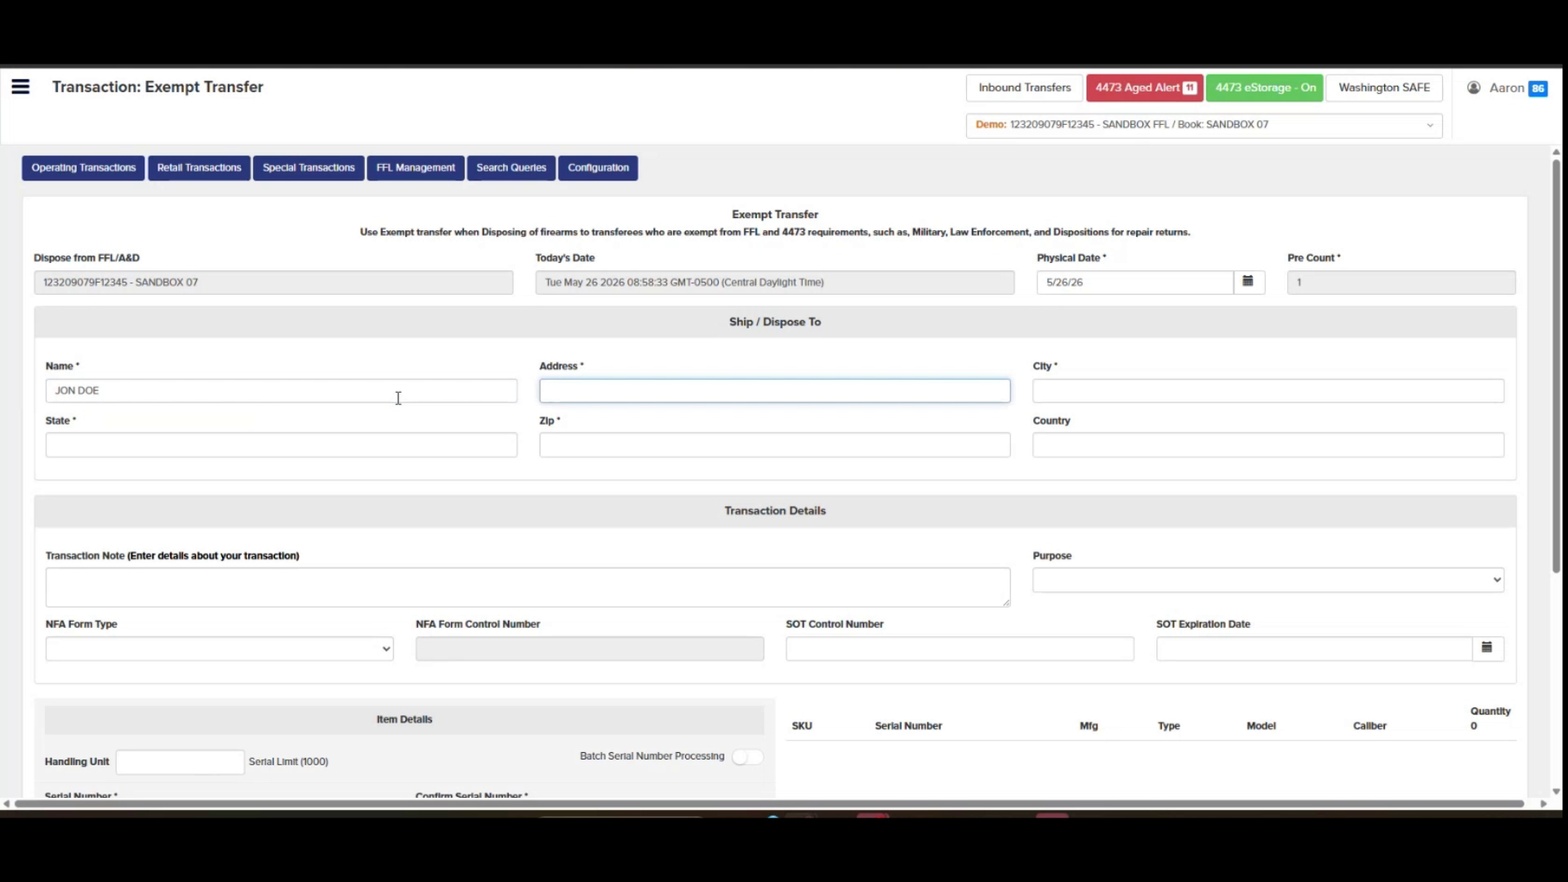
Entering recipient name in Ship / Dispose To section
- Enter the Address. Click into the Address field and type the recipient's street address.

Address field entry
- Enter the City. Click into the City field and type the recipient's city.

City entered in Ship / Dispose To
- Enter the State. Click into the State field and type the two-letter state abbreviation.

State field populated
- Enter the Zip code. Click into the Zip field and enter the recipient's postal code.
Zip code entered
- Enter the Country. Click into the Country field and type the country code (e.g., US).

Country field completed
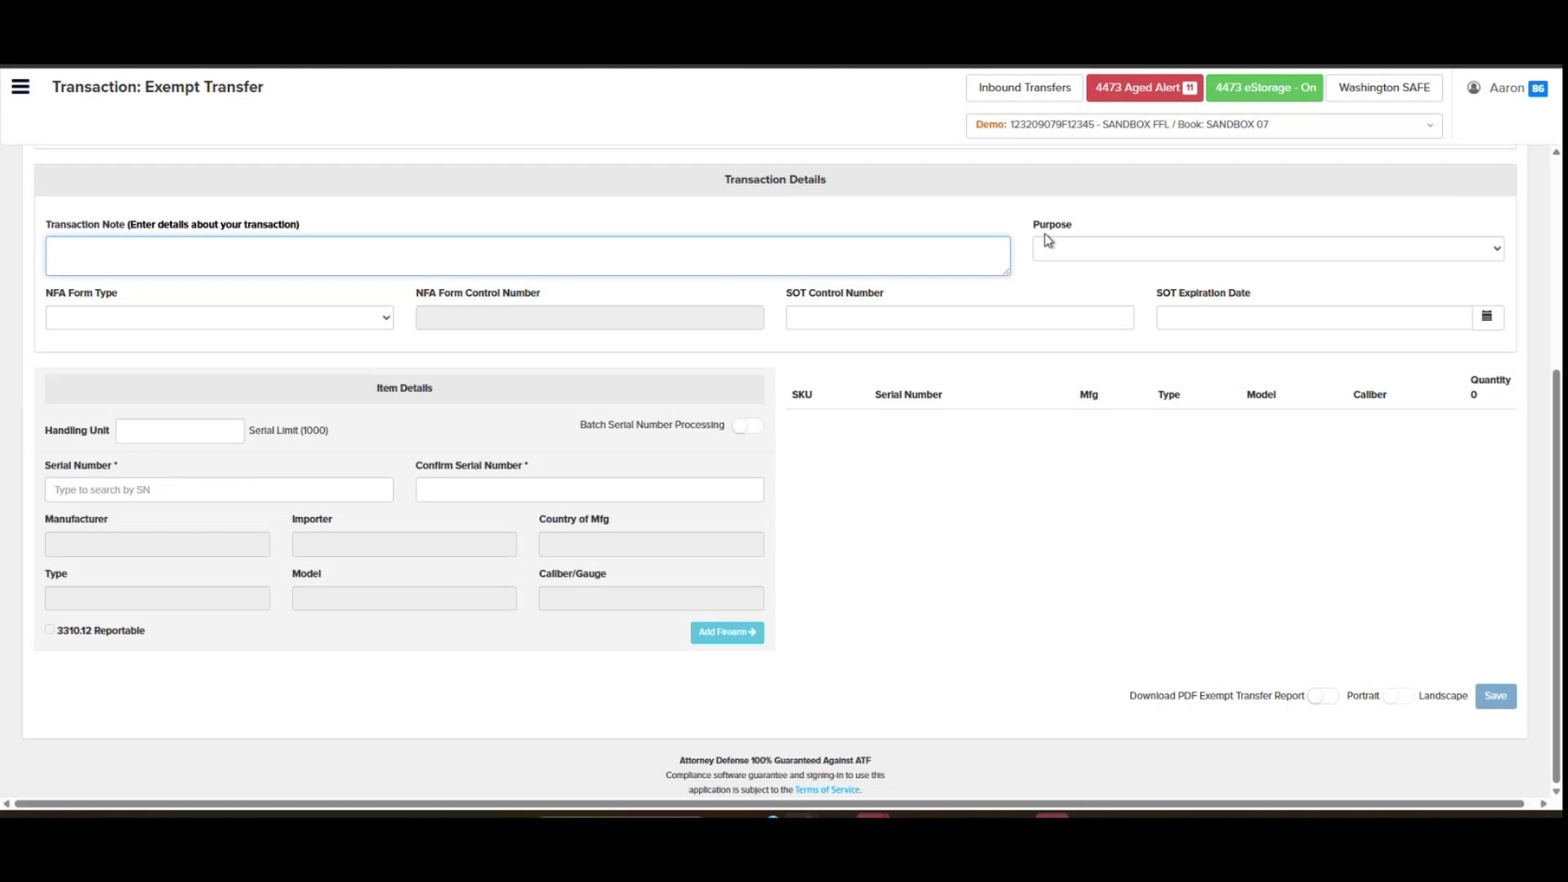
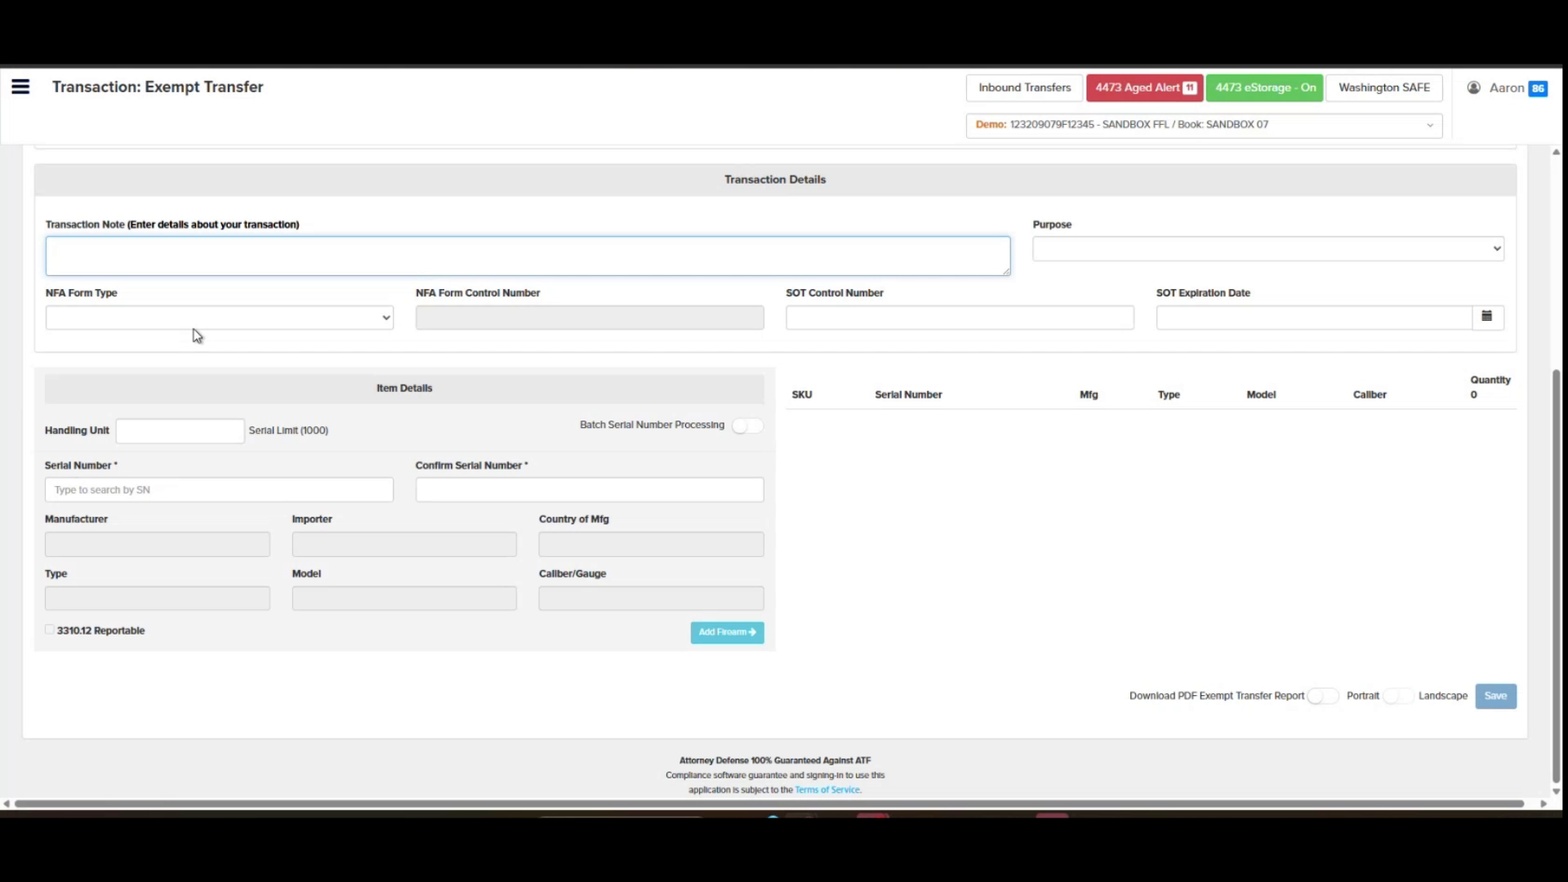
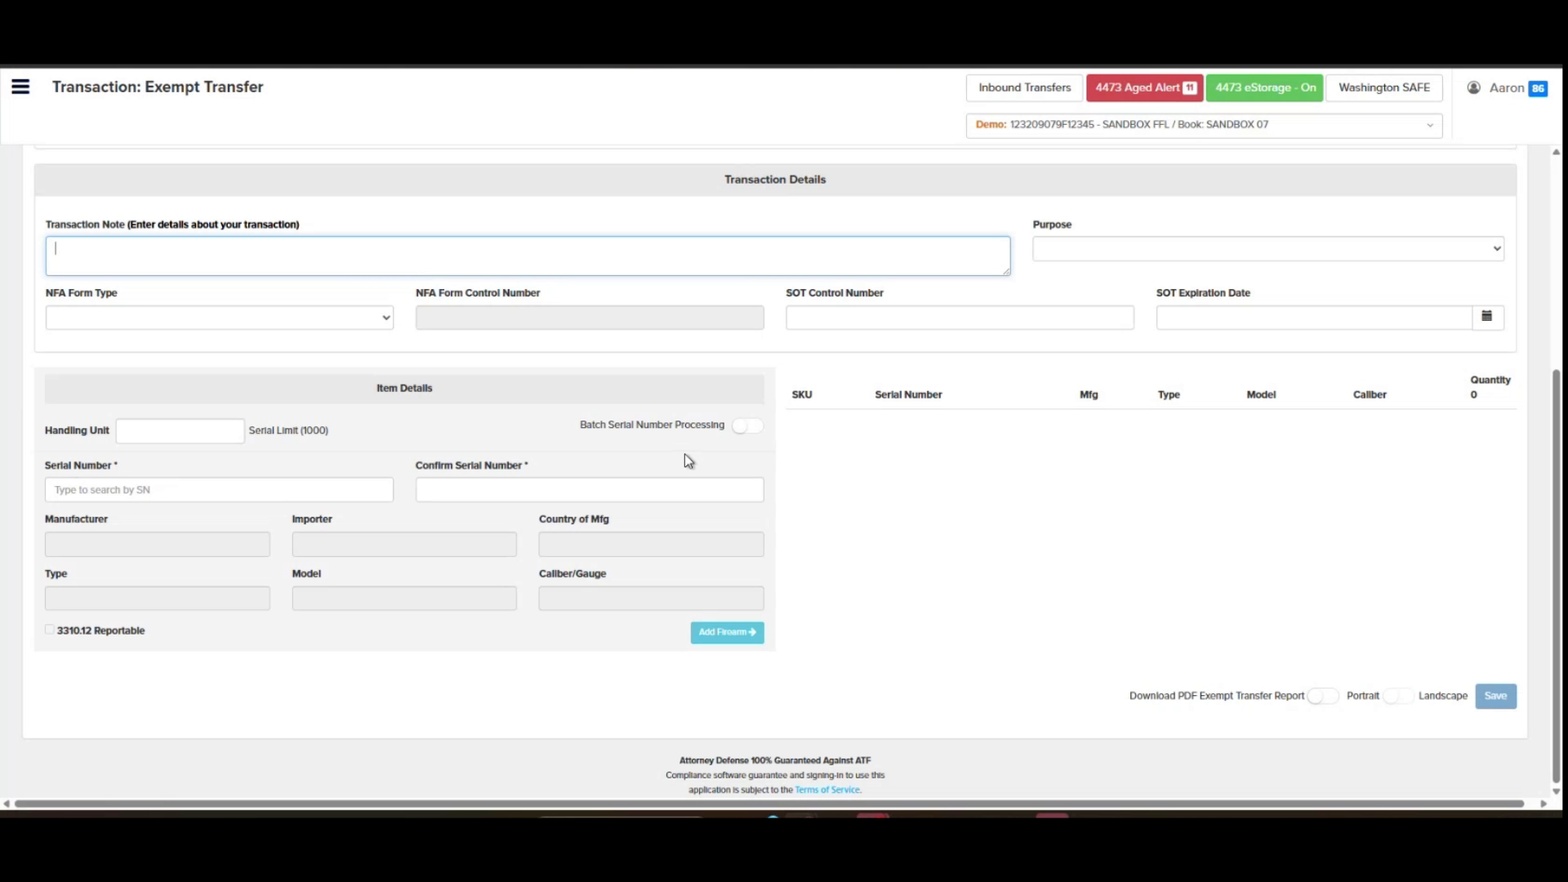
- Add a Transaction Note. Scroll to the Transaction Details section and click into the Transaction Note field. Enter any details about the transaction that should appear in the record.

Transaction Note field
- Select a Purpose. Use the Purpose dropdown to choose the reason for this exempt transfer.
Purpose dropdown in Transaction Details
- Complete NFA fields if applicable. If the transfer involves an NFA item, select the NFA Form Type, enter the NFA Form Control Number, SOT Control Number, and SOT Expiration Date.
NFA and SOT fields
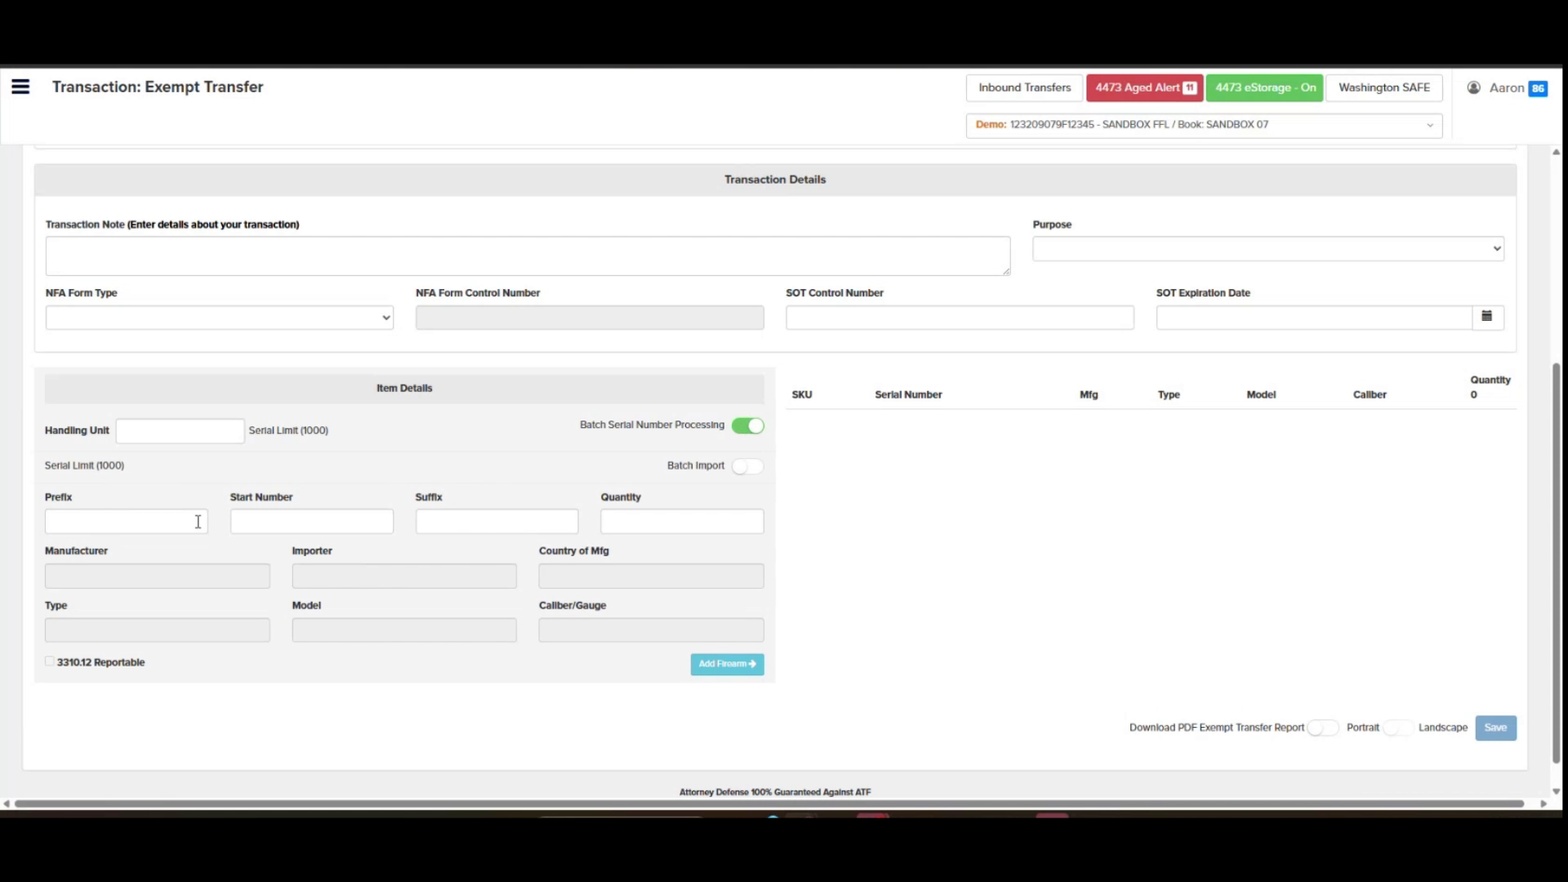
- Review the Item Details section. Locate the Item Details panel where serial numbers will be entered. You can add a Handling Unit value if used.
Item Details section
- Decide between single or batch entry. For a single firearm, leave Batch Serial Number Processing off and enter the serial number in the Serial Number field. For multiple firearms, toggle Batch Serial Number Processing on.

Batch Serial Number Processing toggle
- Use Prefix/Start Number/Suffix for sequential serials. With Batch Serial Number Processing enabled, enter a Prefix, Start Number, Suffix, and Quantity to auto-generate a sequential run of serials.
Batch entry fields: Prefix, Start Number, Suffix, Quantity
- Or enable Batch Import for a list of serials. Toggle Batch Import on to reveal the Serial Number(s) text area, where you can paste a list of non-sequential serial numbers.

Batch Import enabled with Serial Number(s) field
- Enter a single Serial Number. With batch options off, click the Serial Number field and begin typing — Orchid will surface matching on-hand firearms in a dropdown. Select the correct serial.
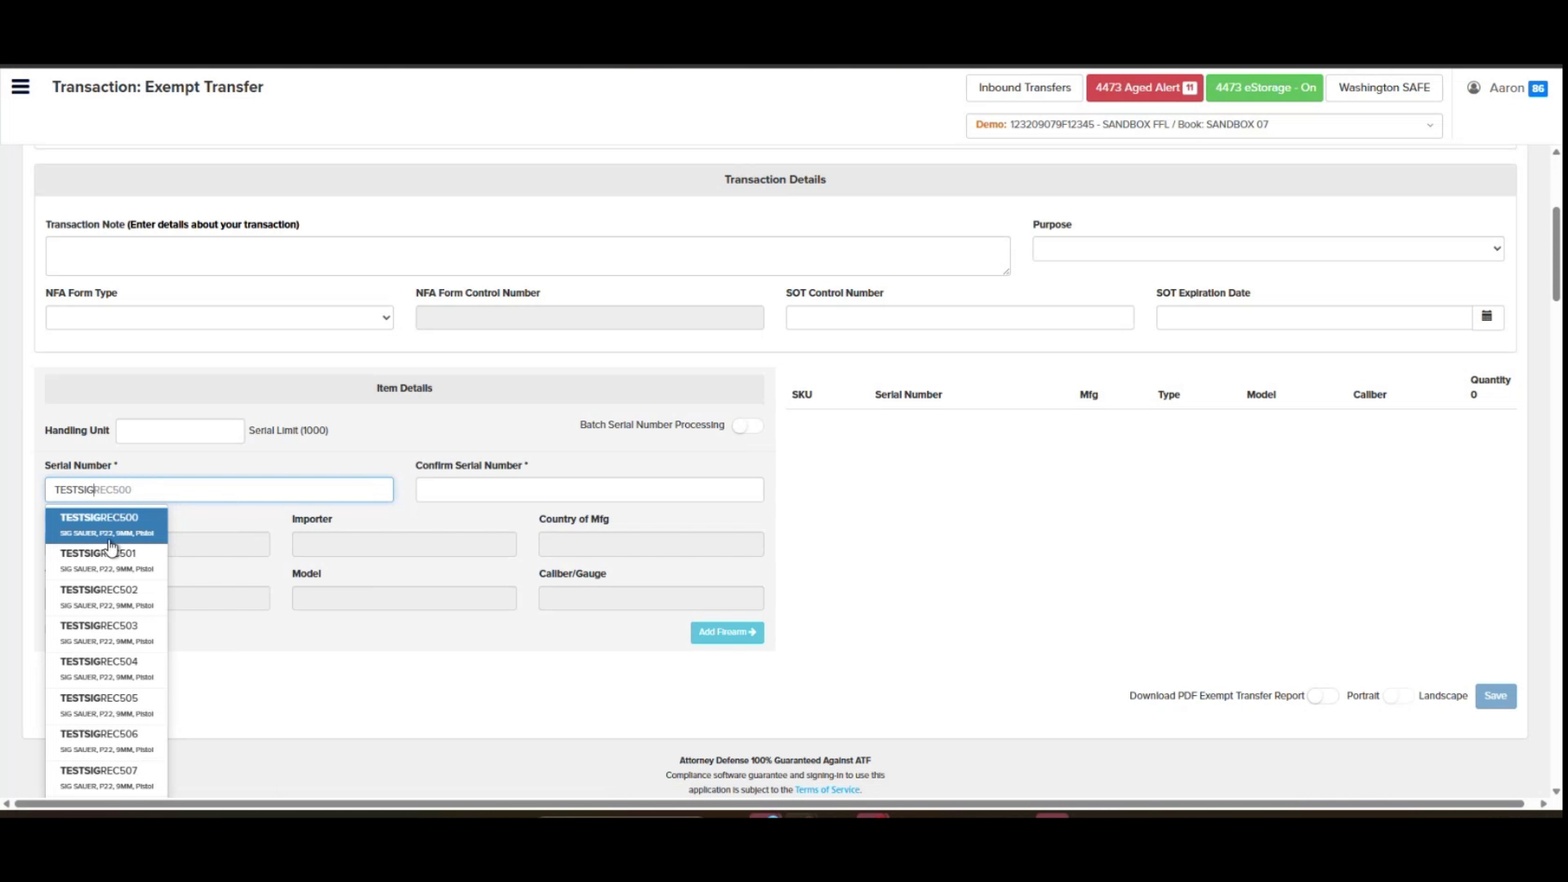
Serial Number lookup dropdown
- Confirm the Serial Number. Type the same serial number into the Confirm Serial Number field to validate the entry. Manufacturer, Importer, Country of Mfg, Type, Model, and Caliber/Gauge auto-populate from the bound book record.

Confirmed serial with auto-populated firearm details
- Check 3310.12 Reportable if required. If the transfer qualifies as a multiple-handgun sale subject to ATF Form 3310.12 reporting, tick the 3310.12 Reportable checkbox.

3310.12 Reportable checkbox
- Click Add Firearm. Press the Add Firearm button to move the firearm into the transaction list on the right side of the screen.
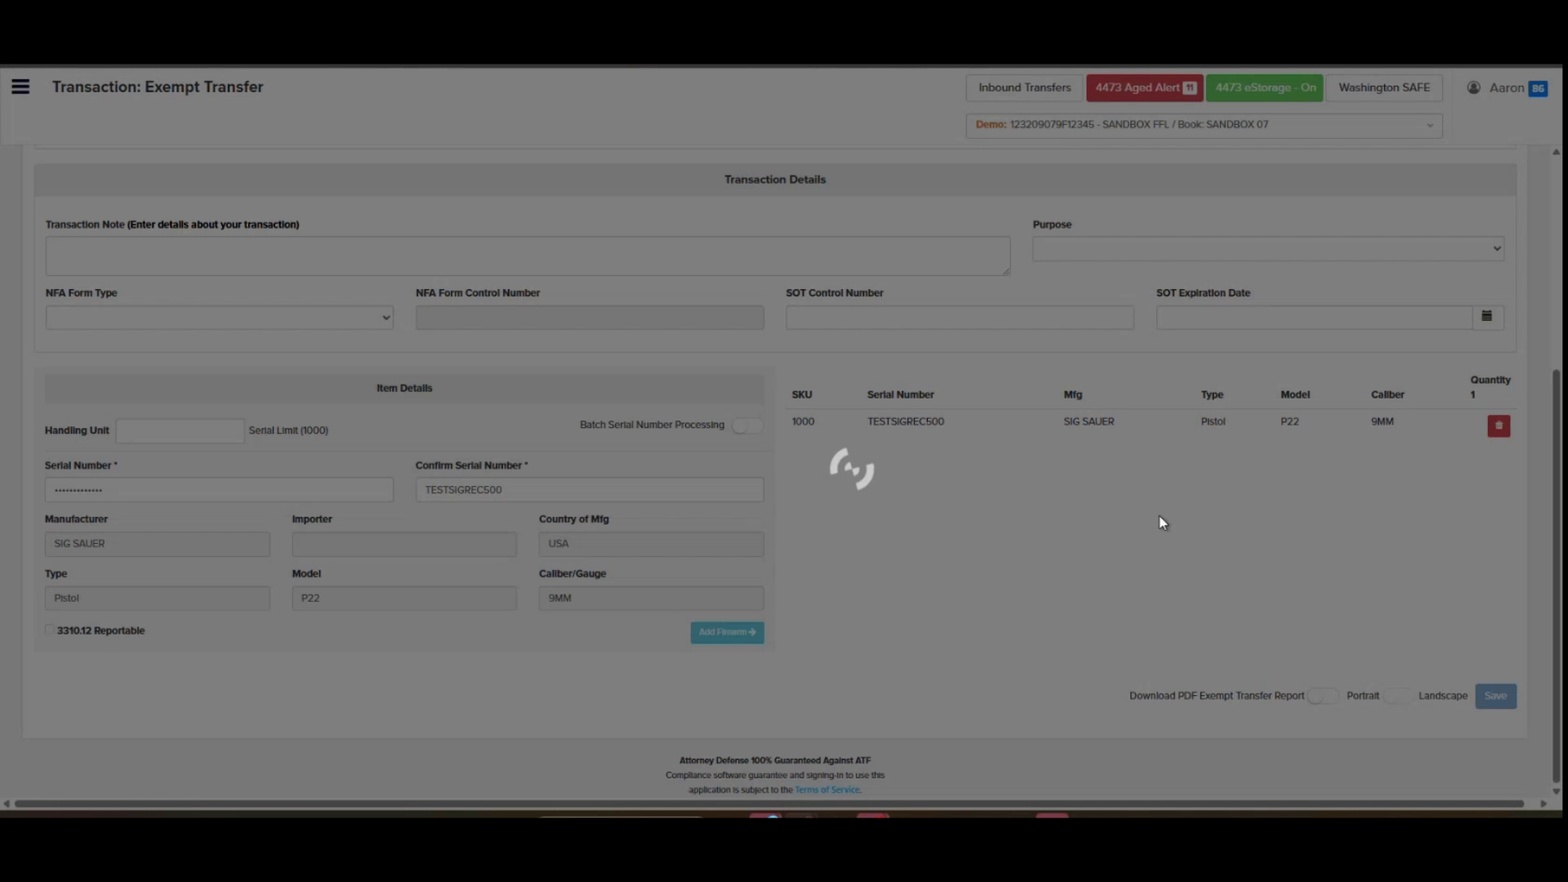
Firearm added to transaction list
- Choose a PDF orientation (optional). At the bottom right, toggle Portrait or Landscape if you want to download the PDF Exempt Transfer Report.

PDF report orientation toggles
- Click Save. Click the green Save button in the bottom right corner to commit the exempt transfer to the bound book.

Save button at bottom right
- Verify the transfer in A&D Search. Open Search Queries → Search/Query to confirm the disposition is recorded.
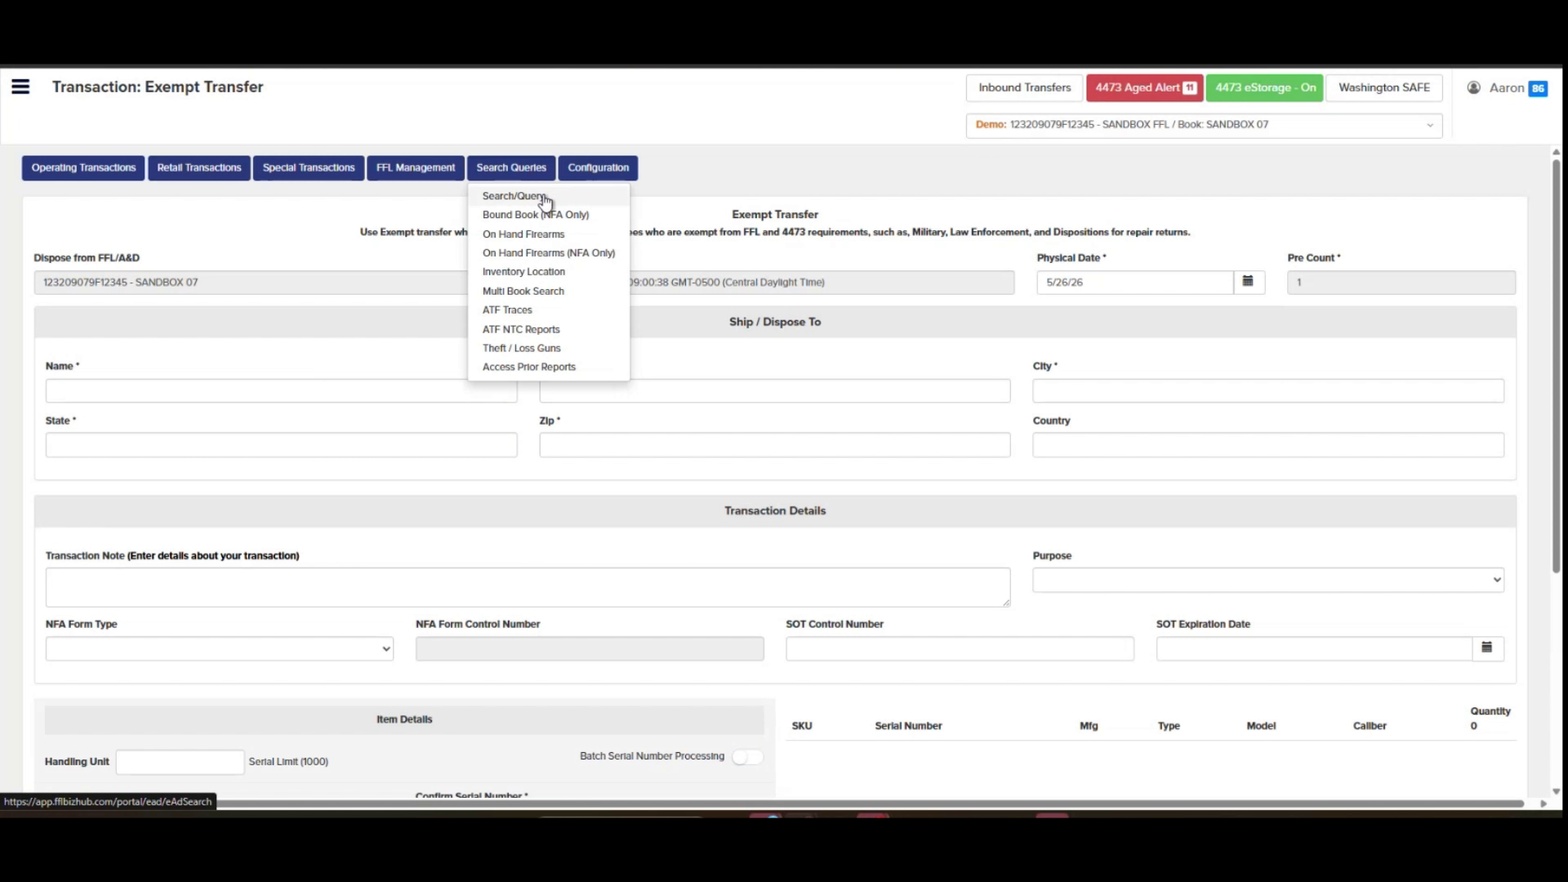
Opening Search Queries menu
- Search for the transferred serial number. In the Quick Search field, enter the serial number and click Search to see the firearm with its acquisition and disposition rows.
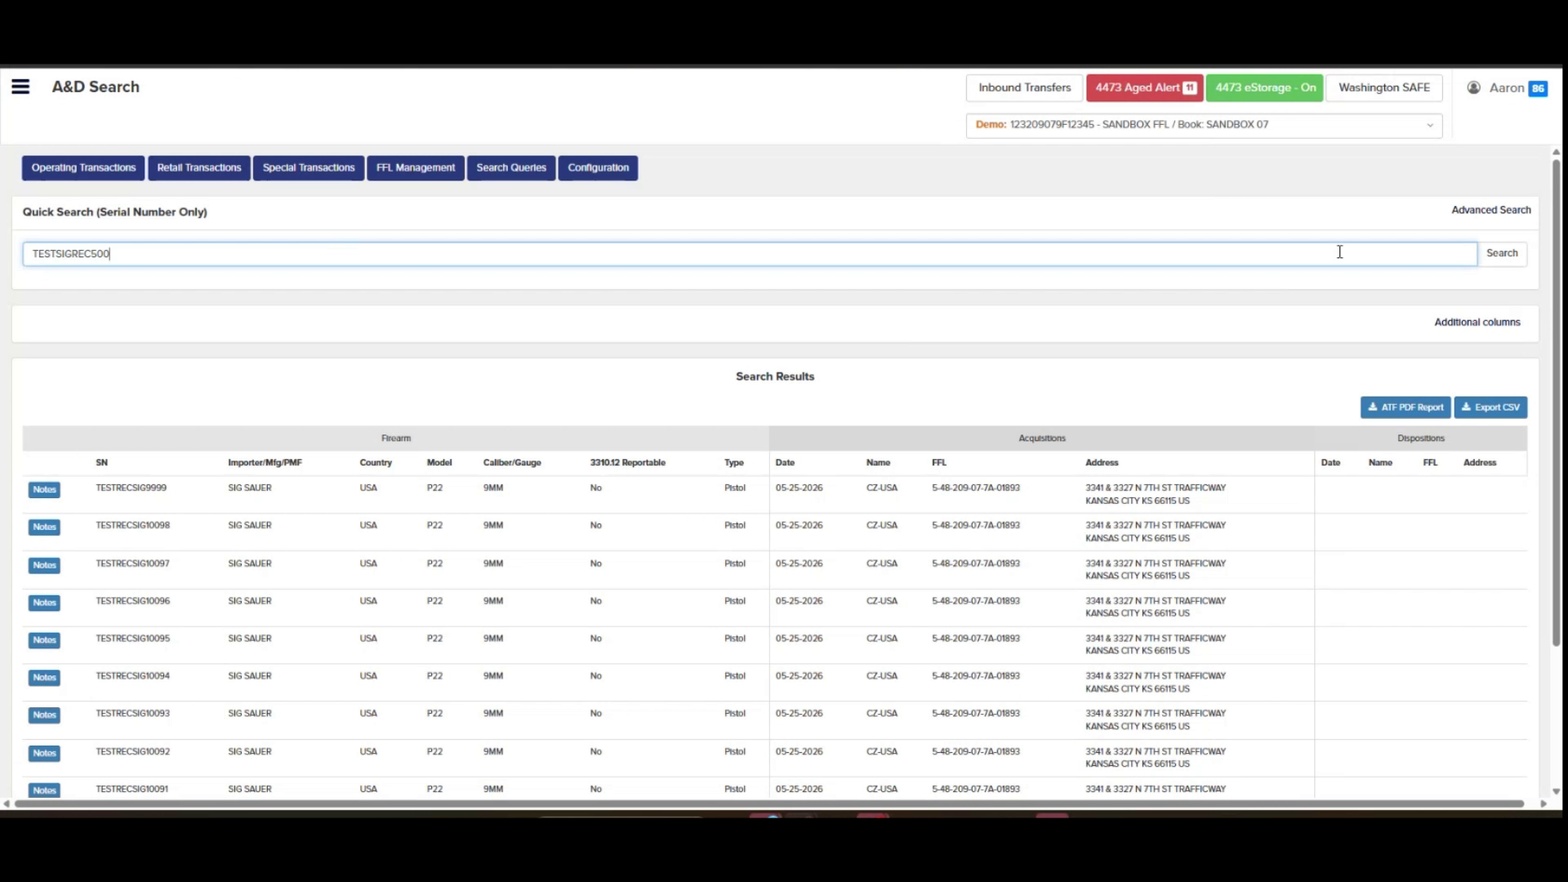
A&D Search results showing transferred firearm
Expected Result
The exempt transfer is logged in the bound book with a disposition record showing the recipient's name, address, and the physical transfer date. The firearm(s) are removed from on-hand inventory, and a PDF Exempt Transfer Report is available for download.
Related Articles
- How to Receive Firearms into the Bound Book
- How to Process an FFL Transfer
- How to Use A&D Search / Quick Search
- How to Correct a Single Record in eBound
- Understanding ATF Form 3310.12 Reporting
Tip: Use Batch Serial Number Processing whenever you're transferring more than one firearm in the same shipment — it dramatically speeds up data entry and reduces the chance of typos in serial number confirmation.
Compliance
Exempt transfers bypass standard 4473 and FFL verification requirements, so accurate documentation of the recipient and purpose is critical for audit defense. Orchid's eBound handles this automatically, but if you have questions, Orchid's in-house compliance team is available to help. Contact Orchid Compliance →
Section 1 of training documentation Source: Exempt_Transfer_05.22.2026.mp4